Wigs can change your look and hairstyle in an instant! High-quality ones look incredibly realistic and are indistinguishable from the real thing. Whether you’re suffering from hair loss due to disease or chemotherapy or you want to transform your look without cutting or dyeing your natural hair, wigs are a great and popular solution.
The only downside to them is the price. Wigs made from quality human hair and monofilament caps can be expensive, and not everybody can afford them. For high-quality wigs, you can always count on us www.airyhair.com. If you’re set on getting a wig, but your budget simply doesn’t allow you to do that, do not despair. Did you know that you can make a wig with hair extensions? You’ve heard that right; you can make a wig all by yourself using regular hair extensions. That requires some effort and DIY action, but it is much cheaper than buying a wig. Another plus is that you can completely customize the wig and make it just how you like it!
What You Need to Know

If you have never done it before, making a wig by yourself might seem complicated, but it’s quite simple. High-quality Remy extension wefts are not as expensive as you might think, so definitely go for quality; it is still many times cheaper than a wig. Choose a wig cap type that you like best, and for a natural look, go with a lace front closure as well. A wig stand made out of Styrofoam is a great stand that will help you with the sewing process.
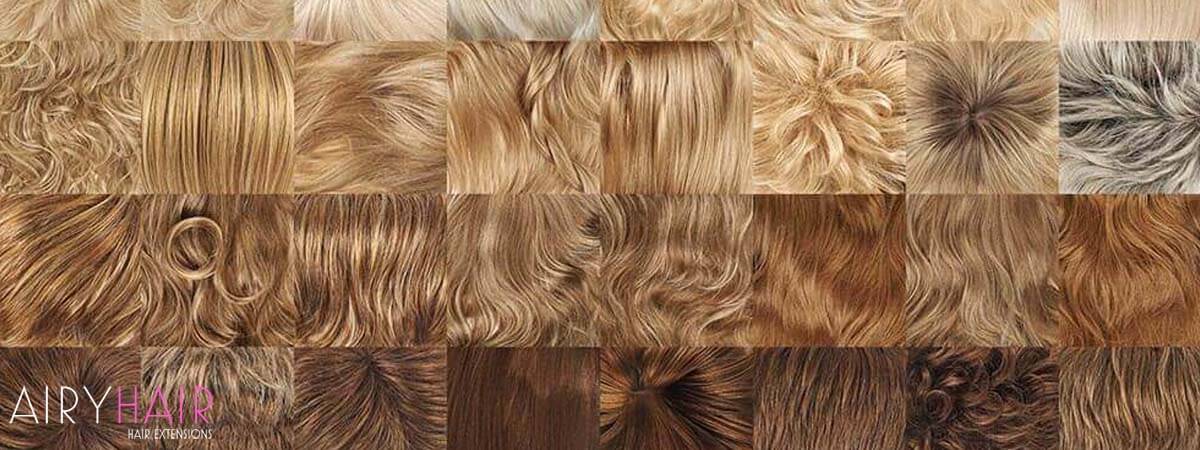
Since you’re making the wig yourself, you can choose its length, volume, density, and color. Those who want an extra dense, voluminous wig go with more wefts, regarding color, which one you choose depends on whether you want to imitate your natural hair color or want a color transformation. If you’re going for a realistic wig that mimics your locks, buy extension wefts that have the exact shade.
When purchasing wig caps, you need to measure the size of your head carefully and choose according to size. Wig cap sizes go from extra small, medium, and large. Most people have a medium head, but still, measure to ensure. The cap should fit snugly on the head and shouldn’t be too tight or loose.
1 Making a Wig with Hair Extensions

Let’s start with everything you will need to make your hairpiece.
- Remy wefts or clip-in extensions. You can buy high-quality wefts here
- Thread and a sewing or ventilating needle
- A Styrofoam wig stand
- Mesh material
- Some patience
- Tape measure
- Scissors
- Pins
Now that you have all the tools ready make the wig with hair extensions. By following these easy steps, you will have it done quickly!
1. Measurements
Step 1
We will start by making measurements so you can make a wig that fits nicely. Using a tape measure, measure the circumference of your head (simply follow your hairline). Now, measure from the center of your forehead to the back. Write the two measurements down. If you want, you can also measure from one temple to the other for an extra measurement.
Step 2
Using a marker, note where your ears begin on the cap. This will be helpful later on.
2. Making the Cap

Now it’s time to start making the wig cap.
Step 1
Transfer the measurements to a Styrofoam wig stand. You can draw this out with a marker; it will make the whole process a lot easier.
Step 2
Pin the mesh lace material on the wig cap, following your measurements. (It’s a good idea to have some extra lace; you can cut it off afterward.)
Step 3
Sew the mesh material together to make a cap. Try on the lace cap to make sure everything fits nicely. It should be too tight or too loose but fit snugly.
Step 4
If the fit is off, you need to start again and see where you went wrong. The measurements were probably incorrect. If everything fits perfectly, your wig cap is done, and you can start preparing the hair.
If you find making your cap too complicated, you can buy a pre-made cap, but keep in mind that it might not fit you perfectly.
3. Sewing

Prepare your sewing tools, a needle, and thread.
Step 1
Now that the cap is in place put one end of the weft on the earmarking on the left side and wrap the weft around the cap so that it reaches the earmarking on the right side. Pin it in place and cut the remaining weft off. This is going to be the first weft you sew.
Step 2
Start sewing from one side of the cap to the other. Approximately every five stitches, make a knot to secure the weft even more. When you reach the other end, create a couple of final knots. Now, you can remove the pins holding the first weft.
Step 3
Continue sewing rows of wefts, from ear to ear, going down on the wig cap. As you go down, the wefts get shorter because the cap follows the head’s natural shape.
Step 4
When you have sewn all of the wefts on the bottom part of the cap, you need to move to the top. Place one weft on the crown area of the head; it should resemble a horseshoe shape. Pin it down and start sewing.
Step 5
Fill in the remaining empty area on the top of the head with smaller wefts. Repeat the same sewing process as before – pin the weft down, sew it in, and finally remove the pins.
Step 6
After all of the wefts are sewn in, now is the time to add the lace front closure to the wig. Place it carefully at the front and pin it down. Sew the lace front closure and remove the pins. And your wig is done!
4. Styling the Wig
Now that your fantastic wig is done, you can style it to make it look even better. Many girls like to cut their wig into the desired hairstyle, and that’s a good idea. Cutting the wig slightly and giving it shape makes it look more natural and realistic. You can try cutting the wig yourself, but if you’re not that skilled with scissors, go to a salon and have it done professionally. You may also want to curl the wig or make waves.
5. Wig Care
You should care for your wig just like you would natural hair. Although a wig doesn’t have to be washed as often, that doesn’t mean it should be neglected completely. Remember to brush regularly and don’t do anything that could damage the wig. That includes overusing hot tools, pulling on the hair or scrubbing aggressively, swimming, and excessive dyeing.
Everything else is pretty much permitted if you bought high-quality AiryHair Remy wefts, which we recommend you always use when making a wig by yourself.
2 Alternative: Buy A Wig from A Store

This is an obvious option, but you can buy a hairpiece from a store if you don’t want to make it yourself. There are many options out there, and you will certainly find something that you’ll like. This is a bit more expensive than making your wig, but it saves you a lot of time and hard work.
We recommend choosing either a 360 frontal wig, a full lace wig, or a lace front. Those are the three most popular choices and for a perfect reason. They all look realistic and natural and have a cap made fully or at least partially out of the mesh lace material, making the hairline look flawless.
Having a realistic-looking hairline is what makes a hairpiece look perfect, and all of these three choices will make that happen. Wigs you buy from a store are also pretty customizable. You can choose the style of the wig, length, color, and density. So, you have a lot of control over how your wig will look. We recommend going for a similar style that you already have, but you can also experiment with different shades and lengths.


