Quick Access
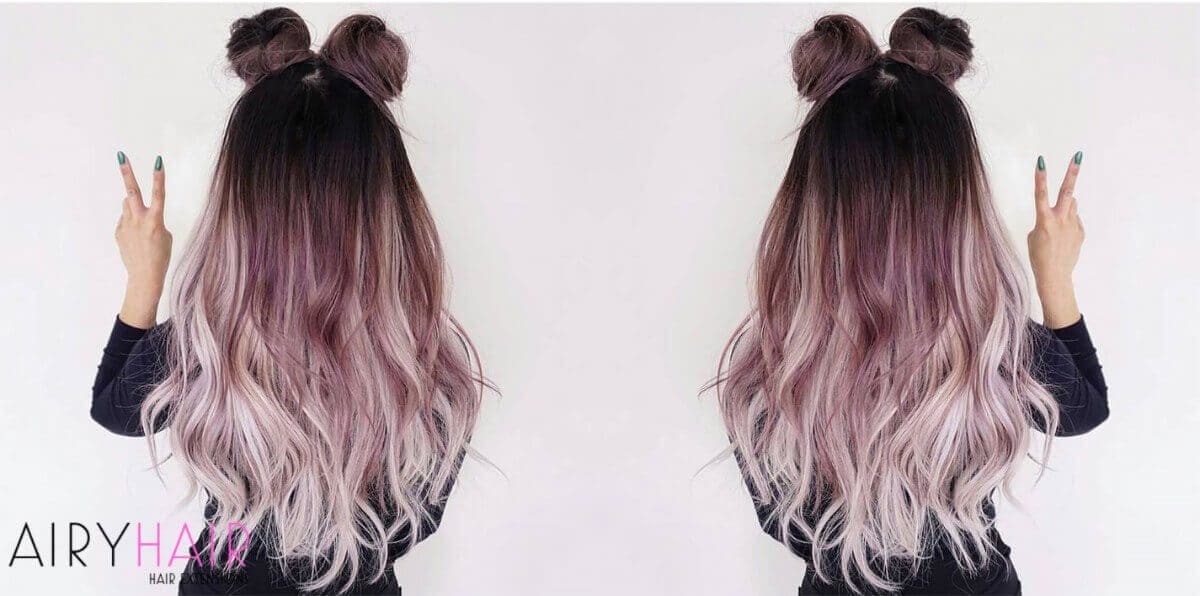
Ombre hairstyles are still very popular, and there are many to choose from. But if you don’t like dyeing your hair or want to try out an ombre look without it being permanent, there’s a great way to do that – dyeing hair extensions. You can do this at home, and the process is fairly simple, although it requires a bit of work. It is also a great idea if you’re tired of the color of your extensions and want to try something new and fresh.
A Step by Step Guide
You Will Need
Extensions
You should purchase high-quality extensions if you want to dye them because there are some extensions you can’t dye and some that can get damaged if you dye them. High-quality Remy extensions can be dyed and will stay the same even after you dye them. It is best to use light-colored extensions like blonde or light brown.
Dark Dye
You will need a dark dye, the darker part of the ombre that matches your roots. The simplest way is to get a boxed dye because it already comes with the right color and developer, so you don’t have to worry about buying those separately.
Toner/Color
It would help if you also had a toner or a color to get the lighter shades of the ombre. A great option is to buy a high-lift color with a little bit of bleach, but it’s a lot less damaging and can strip away the unwanted tones from the extensions.
Cream Developer
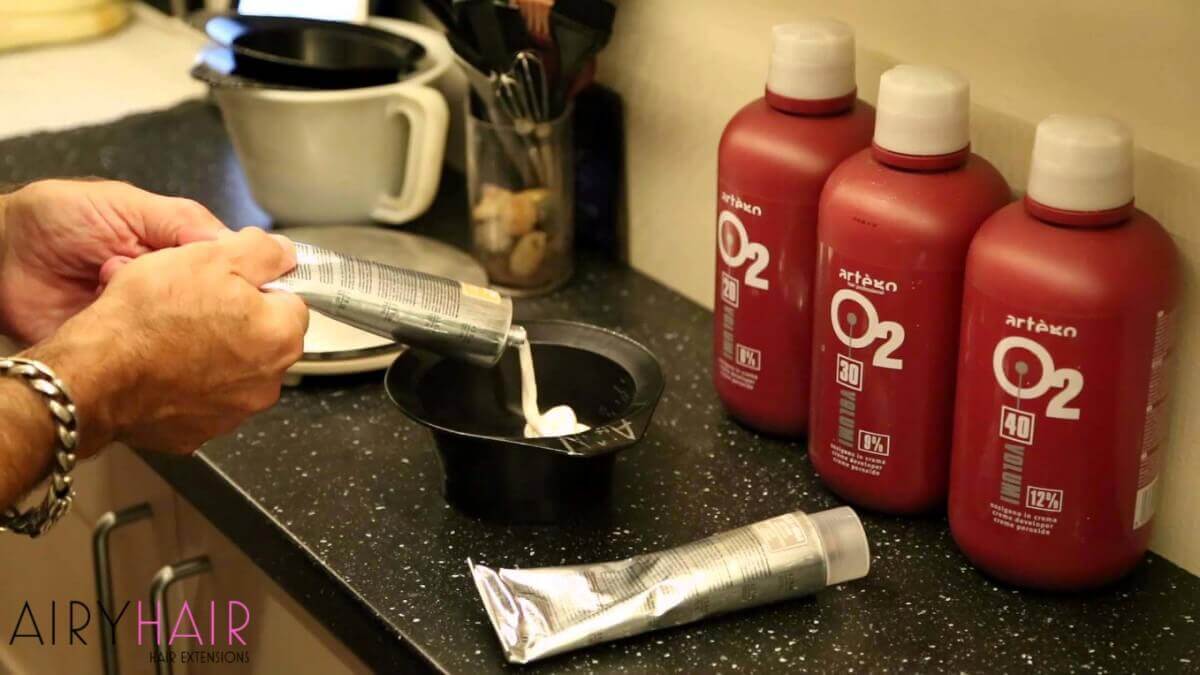
You’re going to need a developer to mix with your toner.
Tools
- You need a bowl to mix the colors.
- A brush for dyeing for applying the dye, gloves.
- Measuring cup to measure the ratio of developer and the color.
- Newspaper of plastic bags to put on the surface you’re going to dye on because it can get really messy.
Preparing the Dark Dye
The first step is putting the dark dye on the top portions of the extensions to mimic your roots. You can follow the instructions for preparing the dark dye. A boxed dye comes with the developer; the color is already in the box, so you must mix those two. The dye usually comes with a bottle ready with the developer, so you need to add the color and then shake it to combine the two. Once it’s shaken properly, you can cut the top of the applicator off and start the dyeing process.
Dyeing the Hair Roots Dark
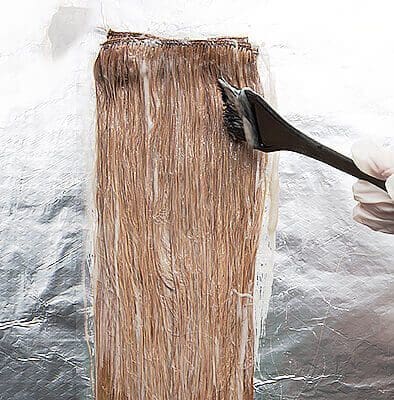 Once the dye is ready, you can start applying the dye straight from the applicator on to the top parts of your extensions and brush the dye in with a dye brush going in downward strokes. If you don’t want the harsh line between the dark hair and the lighter hair, you can put a bit of dye on a comb and brush that into the extensions to get that nice transition. That helps avoid the harsh line between the two colors and creates a nice ombre gradient. To ensure that the dye is evenly distributed on all the hair and that you don’t have any patches, go back periodically with the dye and ensure it’s saturated well. And, of course, don’t forget to do the other side of the extensions because the color doesn’t go through, so it’s important to repeat that process on the other side. Repeat this process on all of the wefts.
Rinsing the Dark Dye
Once the dark dye has been processed for about 30 minutes, you do want to rinse it out, but since you’re going to dye the lower part of your extensions and you want that part of the hair to be dry and rinsing your extensions will make all of it wet. To avoid that, you can take a paper towel and wet it and dampen all the dyed parts of the extensions, and that stops the dye from processing further, and the lower part of the extensions will still be dry.
Preparing the Toner
Now it’s time to prepare the toner for the lower part of your hair extensions. Take the measuring cup and measure how much toner you have; then you will need to double the amount of developer. Because the ratio is 2 to 1, it’s one part toner and two parts developer. Mix the two in a bowl.
Toning Hair Extensions
Toning the extensions is easy. Take a clean dye brush and brush in the toner for the rest of the hair. Make sure it’s well-saturated and you don’t have any patches of color that are not dyed. If your extensions are very thick, you should dye them in layers to get all the colors in more easily. You can also use your hands (while wearing the gloves) and massage the color in. Make sure to repeat the process on the other side of the weft. After finishing, you should wait for 10-15tes for the toner to set.
Rinsing
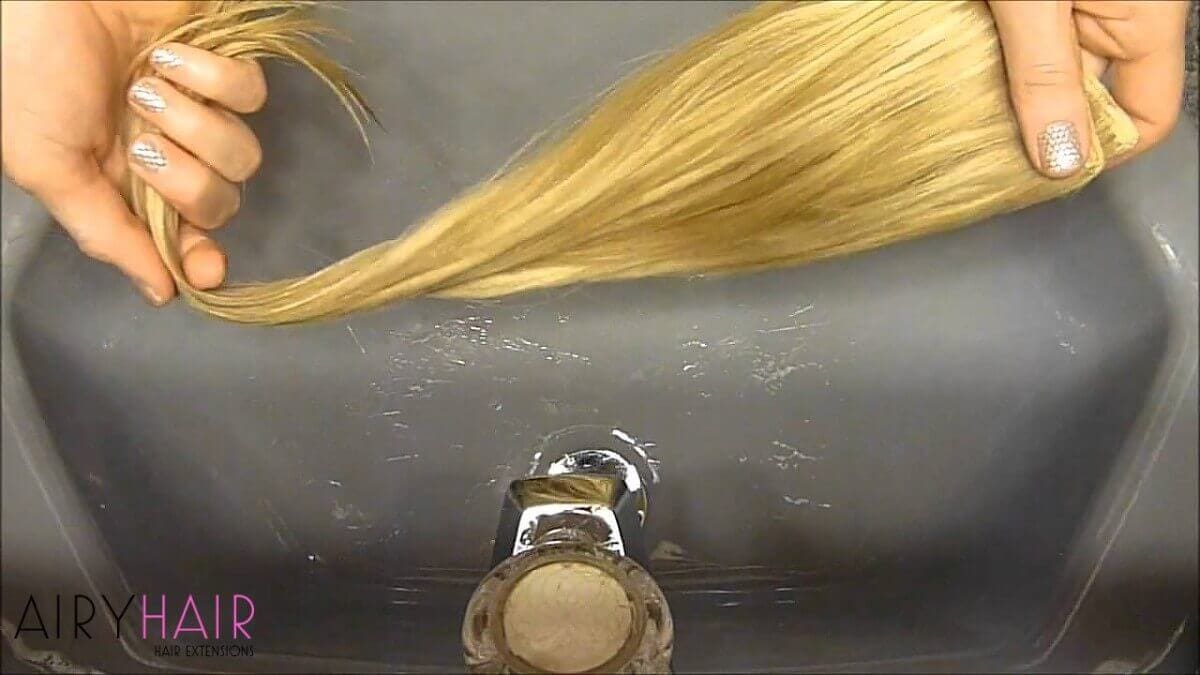
To rinse, use a sulfate-free, color-safe shampoo. Please put it on your hands and lightly rub the extensions to clean them. Don’t be too rough with them because you don’t want to cause any knots. Make sure you thoroughly wash out all of the dye. Once that is rinsed out, add the conditioner on the extensions. The focus is mainly on the midpoints to avoid being too greasy on the root area. Now that you’re done with rinsing the hair, you can finally get to styling it and seeing how the color turned out!
Styling the Hair
It is very useful to have a hair extensions hanger so you can hang your extensions. That way, it’s much easier to style it. Take some macadamia oil and distribute it across the hair, concentrating it mainly from the midpoints to the ends because you don’t want to get it greasy on the roots. Take a heat protection spray and spray it before blow-drying. Then section off the weft into a few sections and blow dry it using a round brush.
You’re Done!
That’s it, now you have awesome ombre extensions! The process is not complicated, and the results are great; it also saves you a lot of time and money because you don’t have to get your hair professionally dyed in a salon.

Your natural hair is always beautiful, but there are many occasions, like parties or Halloween, when you want to have a different hairstyle or hair color but don’t want it to be permanent. That’s why temporary hair dyeing is very popular. You can get different temporary hair colors in many ways, and some work great while others do not. It’s important to note that temporary hair colors dye your hair temporarily, meaning the color will wash out and return to your natural hair color.
There’s no going back with permanent dyes, and the color stays there. There are also terms like semi-permanent hair color and demi-permanent hair color. Demi-permanent means that it is less permanent and it lasts for about 12-24 washes. It works great if you want a color similar to your natural hair color or darker, but it doesn’t work so well if you want a lighter shade. Semi-permanent hair color is identical to demi-permanent, and it can enhance your natural hair color, making it shinier. It can also help with covering up grays or as a touch-up for your permanent hair dye, so you don’t have to visit the hair salon so often.
Color Shampoo

Many brands of color shampoo work well as a temporary hair dye. It usually lasts a couple of washes, and then you’re back to your natural hair color. The good thing about color shampoos is they don’t damage your hair much since no permanent dyeing or bleaching is involved. To dye your hair with color shampoo, you rub the shampoo in, let it sit for a bit, rinse out, and you’re done.
The problem with color shampoos is that you can’t get any color you want. For example, if you have dark or brown hair, you can’t dye it lighter with color shampoos. Also, trendy colors like pink, blue, turquoise, grey, purple, etc. won’t work either because those colors require very light blonde or bleached hair. The intensity of the color will also not be so great, and there may be patches of the hair where the color doesn’t stick. It’s a fun thing to try out, but if you want a permanent hair color that is very different from your natural hair, there are better methods.
Hair Extensions

The best way to temporarily change your hair color is with hair extensions. You don’t even have to dye your hair to get excellent results temporarily. One of the great things is that you can pick any color you want or a couple of different colors and create the hairstyle you want. You can add cool highlights to your hair, create an ombre or balayage effect, or add some cool and trendy colors to your hair which is perfect for special occasions or parties.
Clip In Hair Extensions

Clip-in hair extensions are probably the best choice if you simply want to change your color and hairstyle for a party or night out. Clip-ins come in wefts that are easily installed; you don’t even have to go to the salon because it’s easy to do yourself. You can place them however you want in your hair and experiment to get the perfect hairstyle.
Besides changing the color of your hair, hair extensions also add to the length of your hair, which is another cool way to temporarily change your hairstyle. After all, once everything is said and done, it will look like your natural hair, and nobody will notice it’s not your real hair. When the party or the special occasion is over, you can simply take them out, and your hair will be back to normal, and of course, you can place them back in whenever you want.
Conclusion
That’s why hair extensions are the easiest and the safest way to temporarily change your hair color. They don’t require any kind of dyeing or complicated hair treatments, and you don’t do any damage to your hair. Any kind of hair dyeing and coloring, even if it’s temporary and not permanent, can damage your hair.
And most of the time, you won’t get the results you want. Temporary hair dyes are also very expensive, and you would have to buy them each time you want to temporarily change your hair color, while you can use the same extensions over and over again.


