Sometimes, it can be confusing and complicated to differentiate between all the hair extension methods available. Choosing extensions varies from person to person, and it depends on the hair texture, length, what you’re going for, and what your daily activities are.
In this article, you will get all the information about the types of hair extensions. Ranging from clip in, flip-in, tape-in, micro-beads, and fusion. As a result, you will be able to choose the hair extension and blending type that fits you best.
Quick Access
Regardless of the actual type and method used, we can divide extensions by the type of hair that is used to make them. Those are human and synthetic hair.
Synthetic Fibers
Synthetic hair is made from fibers that resemble real human hair. Many years ago, synthetic hair was the only option available and affordable, but now it simply doesn’t meet the standards of many women.
Real human hair has become much more affordable and cheaper to buy, so fewer and fewer people choose synthetic hair. One of the main reasons is the look and feel of real human hair, which synthetic hair could never match perfectly. Synthetic extensions and wigs usually don’t look as good. They have an unnatural shine and movement, so they often look boxy and weird.
Human Hair
There are also different qualities of human hair that you can get. Remy’s hair is the highest quality human hair. If you want your new locks to be easy to maintain, go for Remy.
There are also real human hair extensions that have been processed somehow. However, the cuticles are not facing the same direction or have been removed altogether. This is lower-quality human hair, but it could do the job if you’re on a tight budget and can’t spend too much money.

We can divide all hair extension types into non-permanent and semi-permanent methods. Your hair experience will affect your choice, so choose wisely according to your daily habits.
Non-Permanent Hair Extensions
Non-permanent methods like clip-in, flip-in, and some wig types must be removed and reapplied each day. So, there is no glue, tape, or anything similar that connects them. This is a great option if you don’t plan on wearing your extensions every single day or like to change styles often. But remember that you will need some time every day to install and remove the extensions.
Although that process is quick, once you get a hang of it, you still need to do it every day. You cannot shower or sleep with clip-in or flip-in extensions.
Semi-Permanent Hair Extensions
Most extension types are semi-permanent, which means you can wear them for a longer period. That’s because you can’t simply remove the glue, tape, or rings used for the attachment. This is a good option for women who are very busy and don’t have the time to install everything daily. However, you need to refit semi-permanent extensions, usually after about two months. That depends on how fast your natural strands are growing.
Another distinction among extensions is the wefts and strand-by-strand method. For example, clip-ins have multiple wefts that you apply to your strands. The wefts can be bigger and smaller to fit in different parts of the head. Flip-ins can look like one big weft of hair because it comes in one piece. Tape-ins are very small wefts with tape on them.
Strand by strand extensions is a micro ring, I-tip, micro loop, and fusion or U-tip. This hair comes in many small strands that you attach using the appropriate methods. Both wefts and strand-by-strand extensions work great and give off amazing results; it’s just about personal preference.
Clip-in Hair Extensions
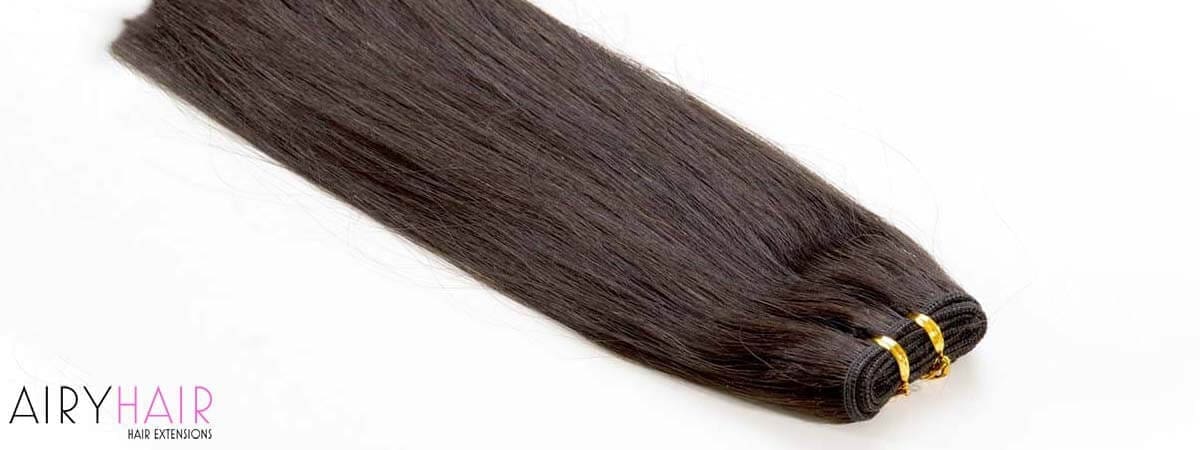
This is probably the most popular method, so you must’ve heard at least something about it. The reason why everybody loves clip-in extensions is because they are very easy to install and maintain. The results are simply amazing. They will be indistinguishable from your natural hair and give you so much volume and length. This is not a permanent method, and you do need to take the hair out every night before you go to sleep.
If you’re looking for extensions only for a few days, you should choose clip-ins because you just take them off afterward. It is great for people who don’t want to have stuff in their hair all the time and don’t want anything permanent. They are very easy to maintain because you rarely wash extensions.
What Are Clip-In Hair Extensions?
Clip-in hair extensions are a type of attachment method consisting of clips and multiple wefts. You get different-sized wefts of hair, ranging from two, three, or four clips. That way, you can combine them to fit in with your natural strands perfectly.
If you are a beginner when it comes to extensions, clip-ins are a great place to start. Clip-ins can help you achieve that, whether you want the locks to be longer or fuller. Clips are a perfect way to make your look more stylish and trendier. They are suitable for everyday use because you easily attach and remove them, but they also work great for special occasions like parties, weddings, fancy dinners, and even business meetings. If installed correctly, the clips will not show.
We recommend that you use wefts on medium or longer hairstyles because your natural strands need to cover up the clips. This is also one of the safest methods for transforming your hairstyle because it will not harm your real strands. You have the option to try out different colors, create highlights, and even do an ombre look.
How to Install Clip-In Hair Extensions?
Even total beginners find it so easy to attach the clips. Clip-in wefts have a special design that makes this process a breeze. Simply press on a clip to open it, and when you are done attaching the weft in its place, press again to close the clips.
A cool tip for blending the extensions even better is to style your hair. Do a nice body wave – it will bring everything together. Another tip is to have your hair cut while wearing the clip-in extensions because that will create a uniform look.
There’s a separate post which explains the process of installing clip-in hair extensions.
Flip-In Style Hair Extensions
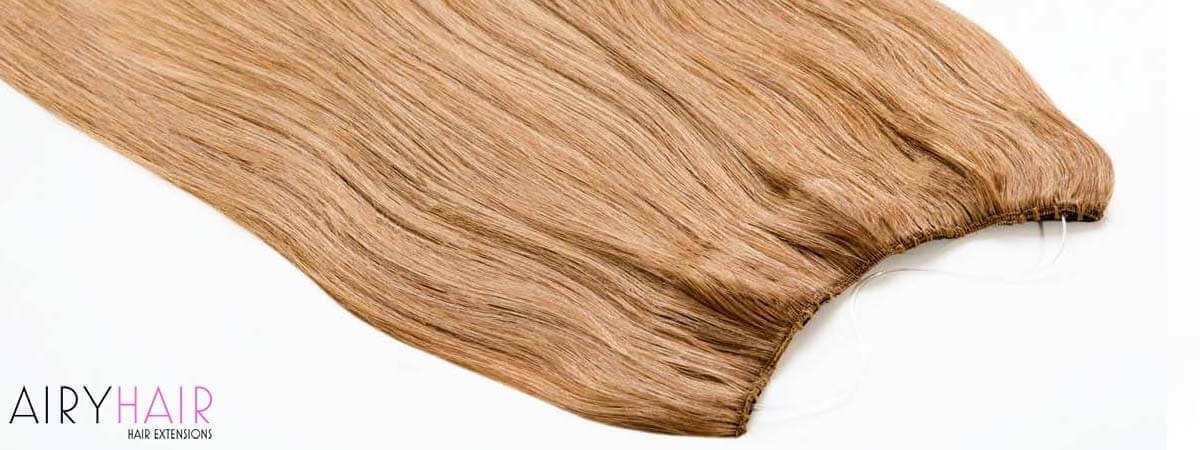
Another non-permanent extensions method is flip-in, also known as the halo-like crown, wire or secret extensions. The hair comes in one big weft, and you attach it with a loop. That string goes on your hair like a crown and is hidden by the top layer of your hair.
The great thing about this method is that you can do it at home, and the application process is even quicker than clip-ins. There is no damage to your hair because it is so simple to put in and remove.
What Are Flip-in Style Hair Extensions?
Flip or wire extensions are also known as halos for a reason. Instead of multiple wefts like with clip-ins, you have one big weft on a loop that one places on the crown area. This is what makes this hair extension type so easy to use, even for beginners. You don’t have to worry about clips, wefts, glue, or tapes – there’s one piece of hair, and that’s it. You can get any length you want when using this method and more volume and thickness.
This is a great option for women on the go who frequently must style their hair while rushing to a business meeting or going to dinner right after work. You can safely pack your flip-in piece and apply it wherever, whenever. It will instantly boost your look and make you look chic and modern in any situation.
How to Install Flip-In Style Hair Extensions?
There’s nothing easier than attaching these extensions! The process is completely beginner-friendly and takes a couple of minutes. These extensions consist of a big weft connected with a string. Place the piece on the crown area of your head so that the loop is facing the front. Check that everything fits, and if you feel like the loop is too big, you need to cut and shorten it so that it fits snugly on the head. How simple is that?
Tape-In Hair Extensions
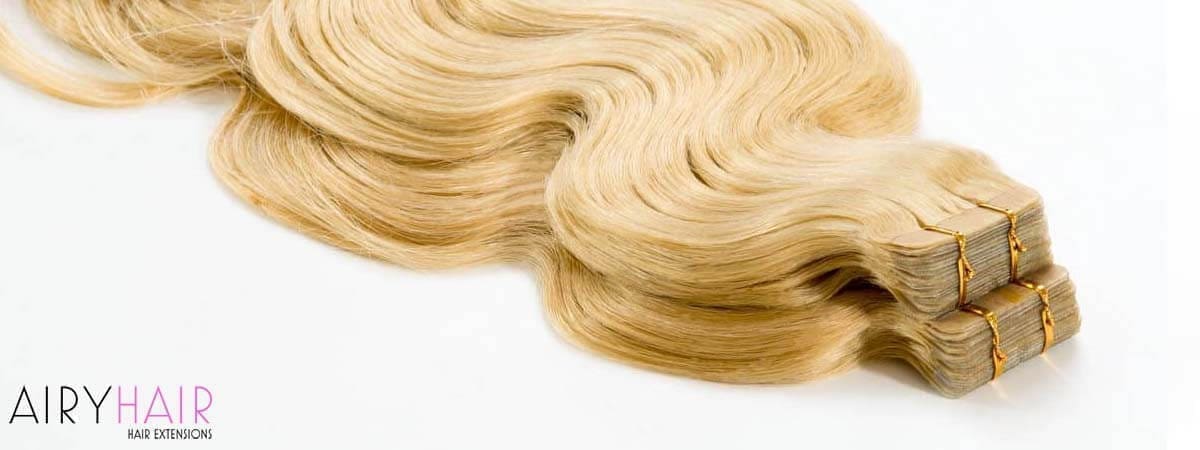
This method uses strips of hair that you apply with glue. The hair doesn’t come in wefts but in small tapes that are very thin and about 4cm wide. A piece of your hair is sandwiched between the two tapes which are glued on. The tape-in method is great for people with thin hair because it won’t be visible at all.
What Are Tape-In Hair Extensions?
It’s a hair fusion method that uses small adhesive tape that connects to your hair. Each small strand has a piece of double tape on the top. One of the best things about tape-in extension strands is that they’re invisible and impossible to detect. The tape is see-through and small, which makes tape-in a great option.
Since your hair grows and the tapes go down with it, you must maintain them regularly and have them re-taped. To take extensions out, use a glue remover. Despite that, you will have some glue residue left that you should also clean.
How to Install Tape-In Hair Extensions?
The installation process may be harder for a beginner, but it is possible to do it yourself. If you want to do it at home, we recommend asking a friend or family member to help you, especially in the back. However, if you feel more comfortable with a professional doing it, set up an appointment at a salon.
It takes about two hours to install extensions as you place them in a bricklaying pattern. The extensions feel very secure on your head, and you can style the hair however you want to.
Starting at the back of the head is the easiest, applying two or three tapes above the neck. As you go up, you increase or decrease the number of tapes by following the shape of the head. So, you would separate one strand of your hair, glue one extension strand underneath and the other on top of it.
Cold Fusion (Micro Loop Link) & I-Tip Hair Extensions
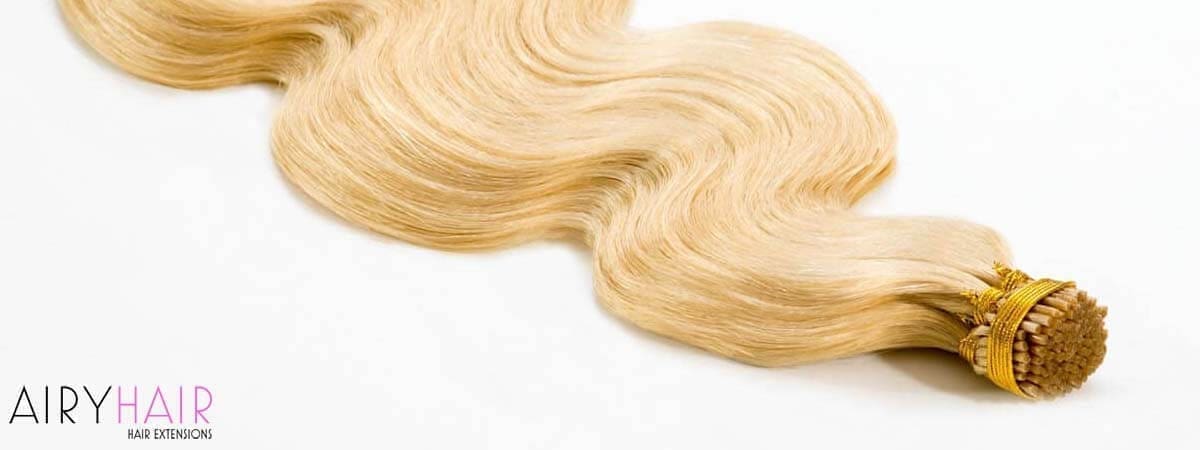
This is a cold fusion method that uses i-tip shape or loops to install hair. It is put together on your hair strand by strand with a micro or nano bead. The difference between micro and nanorings is in size. If you have thinner hair, go for nano rings because micro rings might be visible.
Since this is a strand-by-strand method, it makes your hair fluid and more natural. You can put it up in a high ponytail or style it however you want. This is also a great method if you want to add highlights or lowlights or want a pop of color on your natural hair.
Typically, you need to install about 150 links for a full head of hair, and that takes about 3 hours to install. It is best to have it done by a professional to ensure the best results possible. The removal of micro/nanorings is very simple and straightforward. Open links with pliers and pull the strands out. This method will not damage your hair, and it is very safe. If extensions are made from real human hair, you can use them for up to a year. However, regular maintenance is important since your hair grows, and you need to redo them every 6-8 weeks.
What Are Micro Loop Hair Extensions?
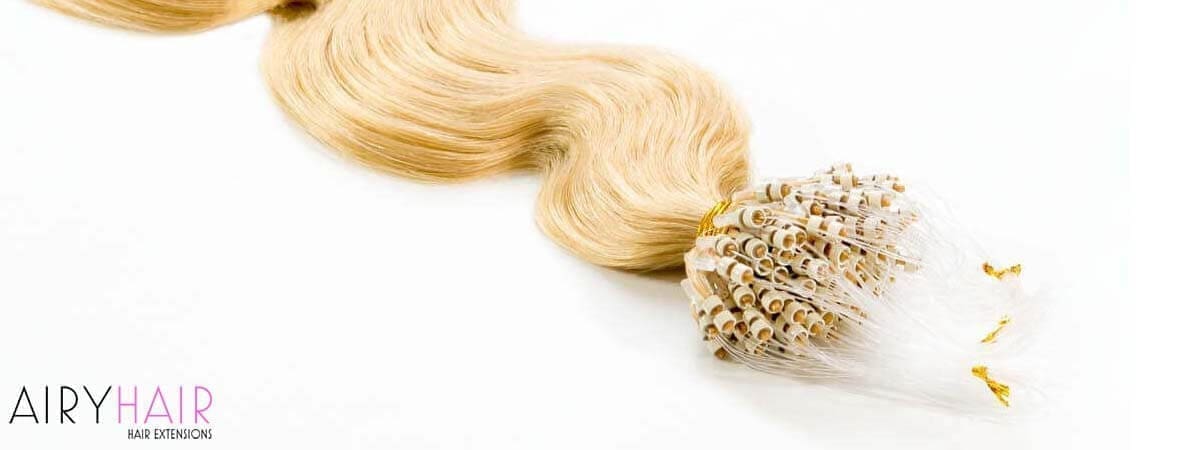
Just like I-tips, micro loop extensions are a strand by strand method, but the difference is that there is a loop which makes the installation process so easy and simple. You can decide how many strands you want to put in, and that way, control the overall density and volume of the hair. The rings are perfect for camouflaging extensions, so you don’t have to fear anything being visible. Hair has a very flowy natural movement with micro loop extensions because no big wefts keep the strands from moving.
A cool thing that can be done with micro-loop hair extensions is adding highlights, lowlights, or simply pops of color to your locks. So you can buy extensions in a shade different from your natural one and create cool effects and styles. This is a great alternative to dyeing your locks because it is completely harmless and non-damaging, unlike dyeing. Chemicals in all hair dyes are very strong and often make the hair dry, causing breakage and shedding. So, if you want to change your look and style without causing damage to your precious strands, go with micro-loop extensions instead.
How to Install Micro Loop Hair Extensions?
All you need is your hands and a tool to clamp the micro rings. Using an end of a comb, section off a small strand of hair equal to one of the extensions. Take the loop in your other hand and pull your strand through it. Now, pull on the end of the loop to pass your natural hair through the micro ring. Leave about one centimeter of space between the micro ring and the root of the hair and clamp down the ring firmly.
The best way is to start this process at the nape of your neck and do a row of about five strands. Move up as you go along and stop about one inch above your ear. As with all extensions, you don’t want to go too high up. Experiment with the number of strands to get the desired volume and density.
Click here to order some at our website, Airyhair.com.
Hot Fusion (Keratin) & U-Tip Hair Extensions
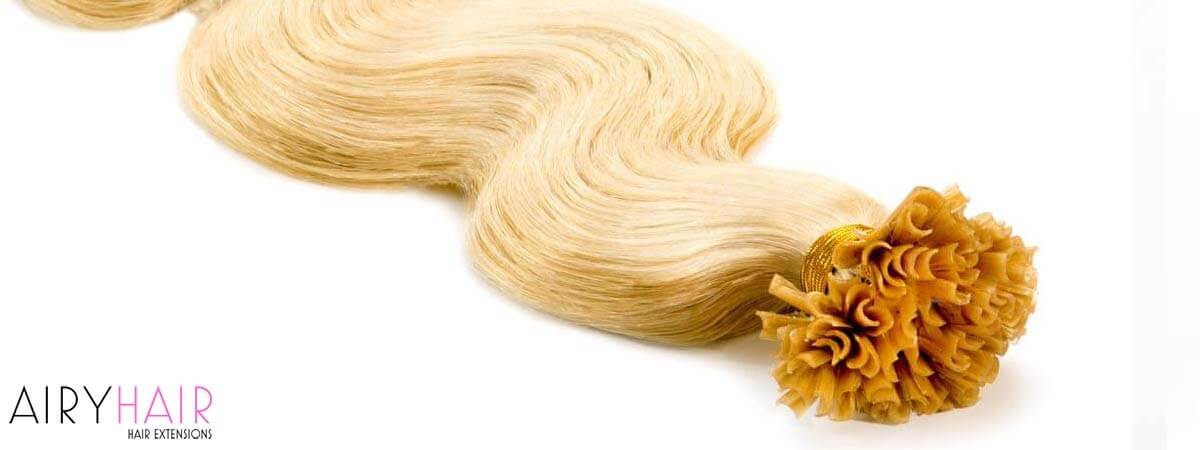
The hot fusion method uses U-tip hair extensions. The way it works is that small strands of hair are put in the U-shaped tips and sealed with a special hot fusion tool. The glue melts from the heat, and that’s when the stylist secures extensions to your hair.
What Are U-Tip Hair Extensions?
U-tip extensions are u-shaped hair strands that stylists fuse with your real hair using heat. Using glue and heat on your hair might sound scary, but the fusion method is awesome, and you won’t see any damage to your hair. The glue is keratin glue, which does not damage your strands.
You can match the color of the extensions to your natural shade, but you can also go with a different shade and create that nice pop of color. U-tip extensions are particularly versatile because they come in small strands, so you can put as many as you want to and play around with the placement.
How to Install Hot Fusion Hair Extensions?
You should get fusion extensions done by a professional. You have glue as well as heat involved, and that can get messy, even dangerous, if you try to do it yourself. The removal process is also not as simple as with other methods.
Hot fusion is the most complicated method out of them all. Mostly because you need special tools and hot glue. Although with little skill and training, it is possible to do it at home as well.
You will need some U-tips and a special tool called the fusion connector. You can buy it for a very cheap price for home use. The best way to start is by sectioning off a small strand of hair, approximately the same size as the U-tip strand. Place the U-tip close to the roots, but leave some space between them.
Once the glue is malleable, roll the tip between your fingers to fuse the strands. A blow dryer on low heat can be used to make the glue set quicker. When your hair grows out, the U-tips need to be removed.
Sew-In & Weave Hair Extensions
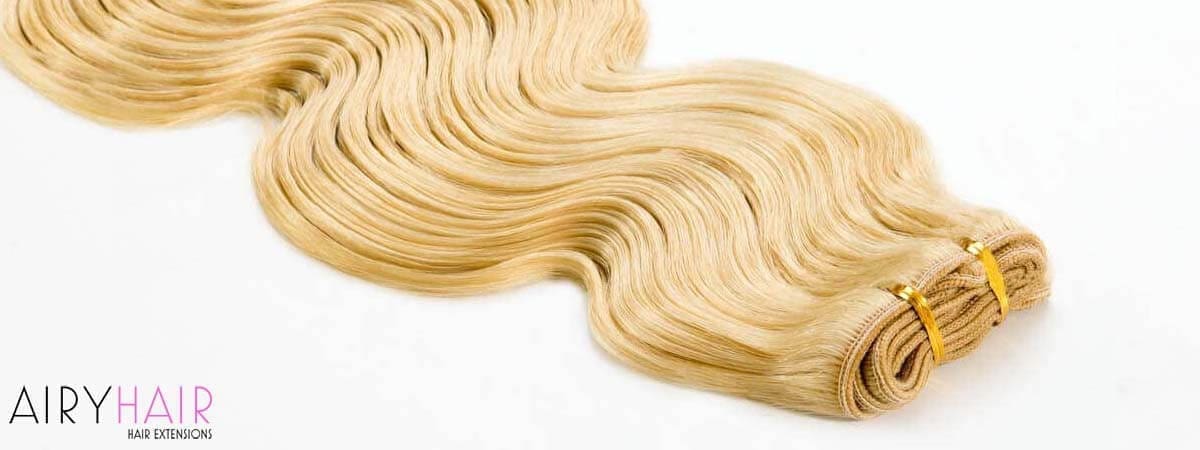
Another way that extensions can be applied is by sewing. That is also known as a weave, and it has been a very popular method for many years.
What Are Sew-In Hair Extensions?
Sew-in hair extensions are wefts of hair that you cut to a desired size and then sew in. Therefore, sew-in extensions are very versatile and work for all different types of hair. This method is great because you don’t have to tape anything, use glue, or heat. You can also add as many wefts as you can fit on your head.
The length of your new look will be determined by which length you choose when purchasing the wefts. A smart thing is to go for an inch longer than you need; extensions can easily be cut into any hairstyle.
How to Install Sew-in Hair Extensions?
This attachment type is very versatile, and your hairstylist should essentially decide for you. Depending on hair type and thickness. Some involve mixing your hair with the extensions, while others are using just the extensions.
For the first one, you need to make a braid at the back, from one ear to another. The braid should be tight on the roots. Another way to do this is to cornrow the entirety of your hair. Start sewing a weft on the first cornrow and continue until you have sewn all the wefts in. This method creates a wig since there is no natural hair visible in the end.
Hair Wigs
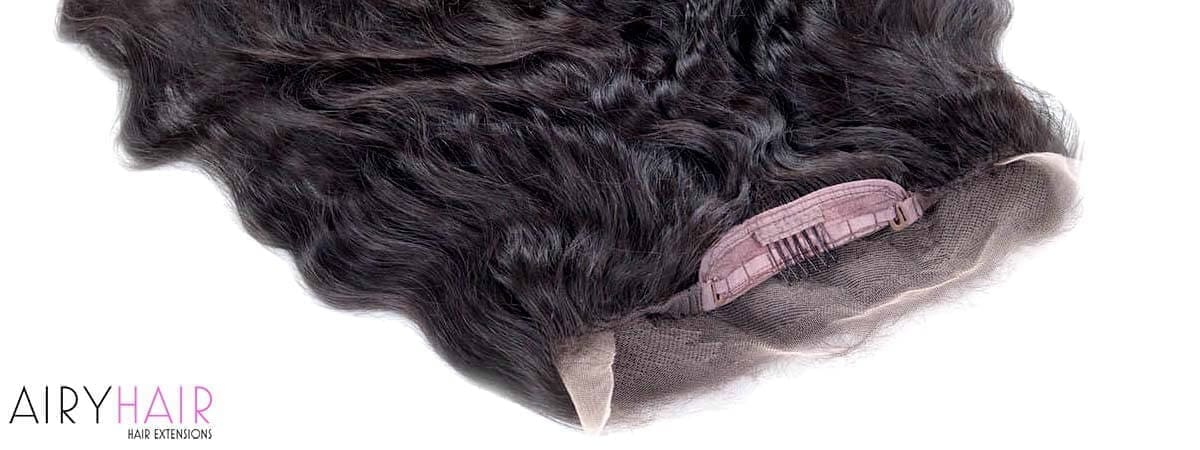
The last extension type we need to talk about is wigs. Some of you may not even think of wigs as an extension type, but they certainly are. The purpose of extensions is to transform your hairstyle, make the locks long and lustrous, and add some density and volume to the hair. And that’s exactly what wigs do.
What makes wigs special among extensions is the ability to give you a full head of hair even if you suffer from hair loss. Of course, you can use wigs to simply change your style and try something new without cutting or dyeing your natural strands.
How Many Wig Types Are There?
With so many wig types, everybody can find something that they like. One of the most popular ones is a full lace wig, a 360 wig, and a lace frontal. All of these are high-quality wigs because they contain lace material. A full lace wig is the most premium one and has lace around the cap, which creates an astoundingly real-looking hairline.
A 360 wig has lace around the perimeter, which is also great and looks flawless. A lace frontal has lace only at the front, so there are fewer styling and parting options, but the results are great.
There are so many different aspects of a wig that you can customize and make your own. Many people think that wigs are only for people who have lost their hair or going through treatment, but that’s certainly not true. Many celebrities prefer wigs because it’s a perfect way to transform your look overnight while your natural strands are intact.
If you’re the type of girl who loves style changes and experimenting with new colors, cuts, and textures, wigs are something you should try. Modern quality wigs look amazingly realistic and seamless, so don’t fear it looking fake or unnatural.
How to Install a Hair Wig?
The wig installation procedure depends on your personal preference. One is sewing, which works great, but it takes a lot of time. There are also amazing products that work as a glue that you can apply all around the hairline and then apply the wig. This is probably the easiest way to do it, and it works great for those who don’t plan on wearing the wig for a long time.
Please read our detailed wig guide for installation instructions and maintenance tips.
How Long Does Wig Last?
This depends on so many factors like hair type, cap type, maintenance, and quality, so it’s hard to say. Generally, synthetic wigs have the shortest lifespan of only a couple of months. Human hair wigs last longer, but it depends on the overall quality. Maintenance also has a very big role; that’s why we can’t stress enough how crucial it is to do everything you can to protect your wig.
Conclusion
Now that you know the basic information about different types of hair extensions, you can get a better sense of what is best for you. Keep in mind that it is crucial to get high-quality extensions, no matter what method you go for. That ensures longevity, great results, and easy maintenance.
To further enhance your knowledge, please see our complete guide for buying hair extensions. After that, you can pretty much call yourself an expert.


