Do you just have gorgeous straight or wavy extensions and want to make them even more stunning by curling or re-curling them? One must wonder, can you do that, and if so, what are the best methods anyway? Remember that we’re always looking for ways to improve your life quality.
Quick Access
– Curling Hair Extensions with a Curling Wand
– Curling Hair Extensions with Hair Straightener
– Curling Hair Extensions without Heat
– How to Make Kinky Curls?
– How to Maintain Curly Extensions?
Lucky for you, there are many ways to curl hair extensions, whether they are clip-in, tape-in, fusion, or micro ring/loop, and we’re going to show you the best ones, with and without the use of hot tools. If you have purchased genuine human hair, Remy extensions, there is no real danger in using curling irons, but you should use a heat protectant spray and at least make sure that you don’t do it too often.
Should You Visit Hair Salon to Get a Curly Hairstyle?
Your first thought might be to take the easiest (yet the most expensive) approach. However, there is no need for that! You would just be spending money on something that you can do yourself. All the techniques that hair professionals use to curl your locks are simple, and you can learn them in no time. Not only will you save money, but you can adjust curls to fit your mood and extensions. Depending on which hair extension texture you’ve just bought, there are many different curling options.
Remember, if you have more permanent extensions like tape-in, fusion, or micro loop, you cannot take them off! So, you will curl them just as you would your natural strands.
With clip-in and flip-in wefts, you can curl extensions installed or removed from your hair. Both work great; it just depends on what’s easier for you. Having them on is great because you can see how curls or waves look and blend with your locks, and that’s important. Beginners, on the other hand, should consider taking them off first.
If you still don’t want to do it yourself, get curly hair extensions. That’s a less expensive and more permanent option.
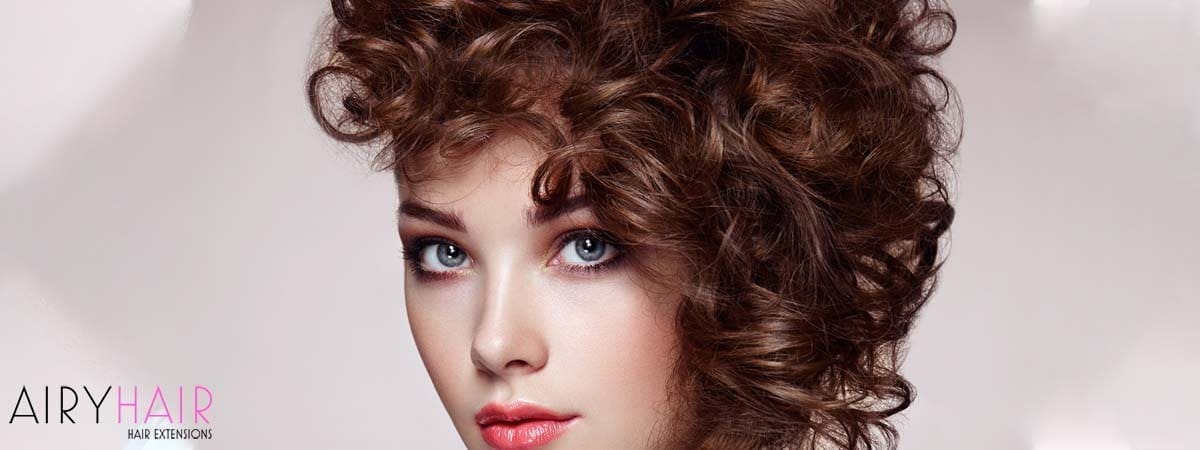
A curling wand is one of the easiest and quickest ways to curl your locks. They are not that expensive and produce great results! We recommend getting a quality product that will not damage your hair. Still, be careful when using a curling iron. The great thing is that they’re very versatile and can produce many different curls. Remember, you need to brush your strands before curling. Also, make sure that you have washed your extensions beforehand.
Strand by Strand Curling Option
Don’t go with the first suggested method just yet. Be sure to read them all and pick one that suits your hairstyle, free time, and level of experience.
Difficulty Level: Medium
Time Estimate: 20 to 40 Minutes
- Take the top section of your hair, just above your ears, and clip it up. Bring the two bottom sections forward to the front. These are the first two pieces that you’re going to curl.
- Take one strand and wrap it around your curling iron. Wait for a couple of seconds (depending on your curler) and release. Repeat that for the other bottom strand.
- Take two more strands from the top part of your hair that are clipped down and repeat the same process. Take into consideration which direction you’re wrapping the strands around the wand because that will influence the type of curls you’re going to get.
- Keep doing it until all of the strands are curled, and that’s it!
That was easy. This method works on any real human hair extensions, and there should be no blending issues.
The Ponytail Curling Method
Difficulty Level: Easy
Time Estimate: 2 to 10 Minutes
We have another way to curl your locks using a curling wand which is even simpler than the previous one. We recommend the ponytail method for any women who are not as experienced with curling or need to have their hair done immediately.
- Brush your hair and tie a high ponytail.
- Depending on how thick and dense your stands are, separate your ponytail into six sections.
- Take one section and wrap it around the curling iron. Please wait for a few moments so it heats up.
- Congratulations, you have just made your first curl! Repeat the same step for every strand, and you’ll be done in a few minutes since there are only a couple of them.
- Now, remove the hair elastic that was holding your ponytail. You will notice that the top layer of your hair is pretty straightforward because of the ponytail.
- Take that section of hair and curl it as well. Use your fingers to break up the top curl into smaller pieces. This will give you a more finished look.
You can be done in just five minutes! You will also find this method a lot easier if you have thick and voluminous extensions. They are just easier to handle and curl when in a high ponytail.
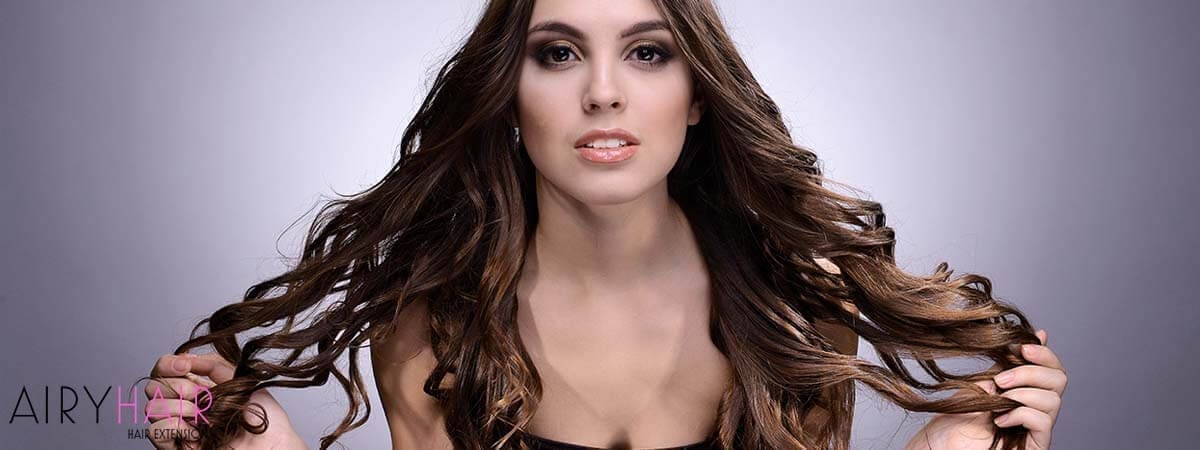
If you don’t have a curling wand or are interested in buying one, you can get similar results by using a hair straightener. If you are like me, you don’t want to lay down $100 for another appliance you probably won’t use in a year. That is why I use my straightener to get my curls. Not only does a straightener give you perfect ringlets when done correctly, but its thick frame makes curls that are less Shirley Temple.
Some women find it a lot easier to make curls using a flat iron. For that reason, it’s a lot better to have one since you can straighten or curl your locks with the same tool.
So, if you’re feeling a bit flat and want to brighten up your day with big, bouncy curls, follow this tutorial and transform your extensions!
The Proven Curling Method
Difficulty Level: Easy
Time Estimate: 5 to 20 Minutes
For best results, you should start with fresh, clean locks. You can use a detangling spray to brush your extensions more easily.
We also recommend applying some dry shampoo to your hair because it will make the curls even more bouncy and last longer. A heat protectant is an absolute must to keep your extensions safe from heat damage. You will also need some clips to section off your hair; we recommend using alligator clips. Let’s start!
Video
Don’t feel like reading? We’ve made a video!
Curling with Hair Iron in Pictures
- If your curling iron has a heat setting, set it to lower heat to protect the hair. Don’t worry; you will still get nice curly without full heat.
- Once the curling iron is hot, take an inch width of a hair.
- With your straightener, start at the roots and straighten your hair until you hit the mid-strand.
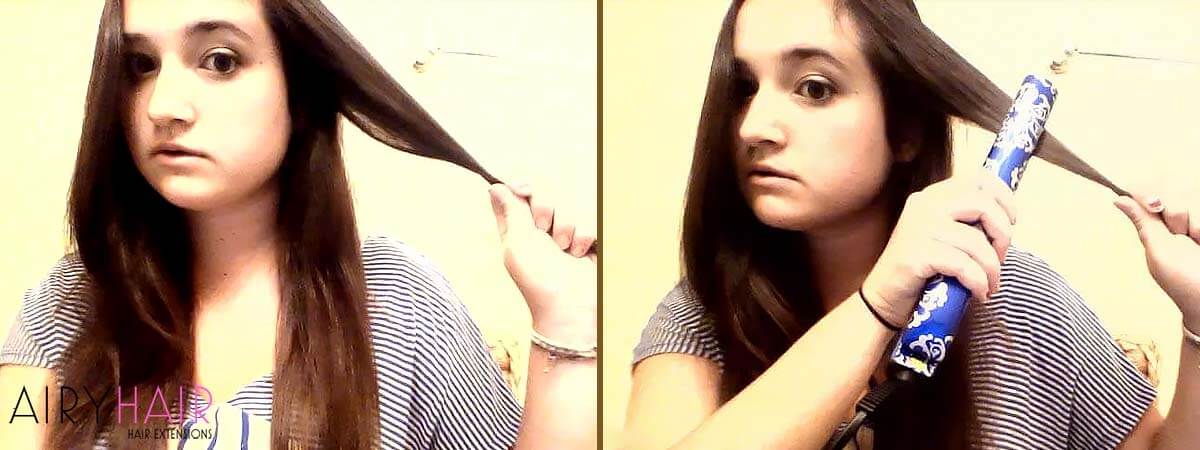
- Take the end of the strand and pull it under the straightener toward your face.
- Twirl the strand with your fingers to give more shape to the curl.
- Roll the straightener outward until the end strand is popping out of the correct way again. The strand should be completely wrapped around the straightener.
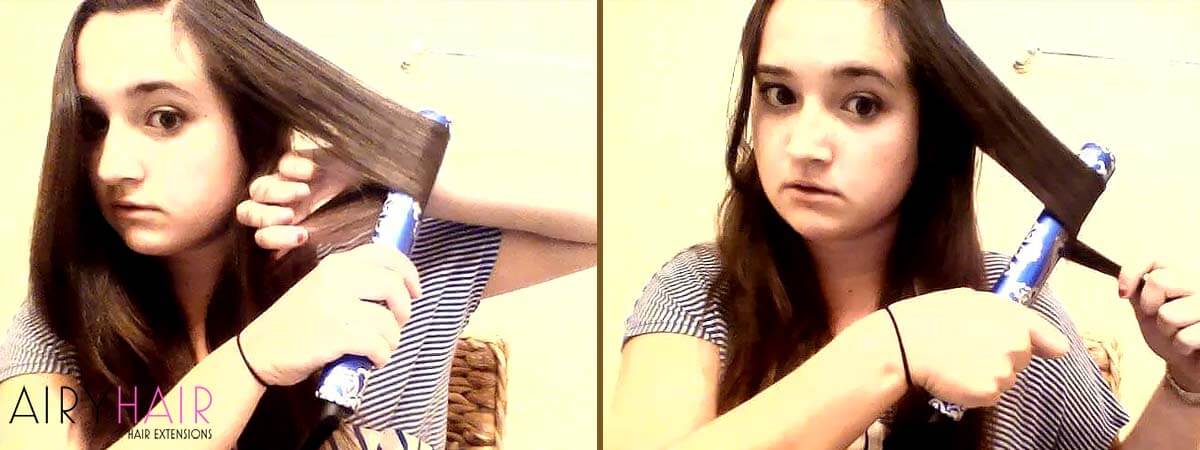
- Gently glide the straightener with your hair wrapped around it until the end of the strand.
- Do steps 1-6 throughout your head, and your hair should be curly in no time! Pop that finished curl over your shoulder so that it’s not in the way.
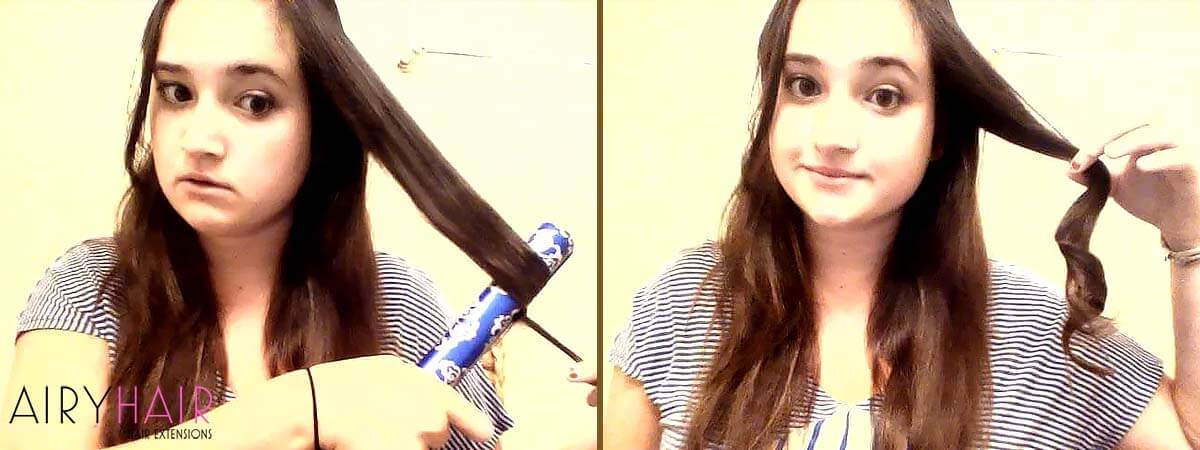
You got the three easy steps: twist, twirl, and toss. Move on the other side and use the same technique. A cool trick is to clip the extensions on hangers; they will be much easier to handle that way. You can also curl one weft at a time to make the process easier.
When you’re finished with the curling, gently toss your locks with your fingers or lightly brush them if you find that the curls are too tight and uniform. Once you’re happy with how your curls look, apply some hairspray. Just make sure that you apply it from underneath rather than on the top. That is it; you have perfect, bouncy curls made only by using a flat iron.
If you’re not so keen on using hot tools, do not despair, there are even more methods of curling your extensions without using curling or flat irons. You may be worried about damaging your extensions, which is understandable. That’s why we’re going to show you harmless and heatless curling methods. The only downside is that they usually require doing it overnight or at least waiting for a while. Therefore, you will not be able to get instant curls like with the previous methods.
The Hair Roller Method
Difficulty Level: Easy
Time Estimate: 2 to 4 Hours
Using hair rollers is one of the classic ways of making curls. This technique has been around for many, many years. There are many different curlers, but you use them in the same way.
- Start out with dry or slightly damp locks. You can determine how many curlers you need and how to section off your strands. Feel free to use the same sectioning-off technique as in the previous methods.
- Take your curler, wrap a strand around it, starting from the tips, and secure it.
- Repeat the same process for all strands, and you’re done! Just wait for an hour or two. If you want the curls to be done quicker, use a blow dryer.
Be careful when you remove the rollers so that you don’t tangle up your locks.
The Sock Bun Curling Technique
Difficulty Level: Easy
Time Estimate: 5 Minutes Followed by 6 to 8 Hours
Here’s another great method to curl hair extensions. It’s called a sock bun technique. This might sound strange, but it works! The best thing? You need only a couple of minutes to do it, and the rest is done by sleeping.
- Wash your extensions and have them about 95% dry before brushing.
- Get your locks in a high ponytail. Now it’s time to make a sock bun by cutting off the end of the sock and rolling it into a bun.
- Place the bun on your ponytail. Then, split your ponytail into two pieces. Start wrapping one section around the sock bun.
- Do the same thing with the other part of your ponytail. When you’re done, secure everything with a couple of clips so that your hair doesn’t unravel.
- Now it’s time to sleep! The bun is so comfortable that you won’t even feel it.
- Unravel your strands in the morning and discover the most perfect curls that you have ever seen!
This is one of the easiest ways of curling hair extensions yourself, and when you wake up, your curls are done. Sleeping with extensions and a bun could also protect them from tangling; that’s a bonus.

Waves and regular curls are amazing, but sometimes, you want to go out and make incredibly voluminous and bouncy kinky curls. They can give you that cool afro look and completely transform your extensions. They’re not that hard to make.
The Straw Curling Technique
Difficulty Level: Easy
Time Estimate: 20 to 60 Minutes Followed by 6 to 8 Hours
You can use either plastic straws or pencils, and you can use them to wrap strands around them (straws are much more comfortable).
- Take one small strand of your extensions and wrap it around the straw. When you get to the bottom, secure it with a small elastic.
- Repeat the same process on all your strands. Remember that this will require a lot of straws and patience, depending on the density of your locks. But the result is worth it
- When you’re done with wrapping, leave it overnight.
- Now go to sleep, wake up, remove the straws from your hair, and you will get the most amazing kinky curls everyone will envy!
And that’s it. Was this helpful? Let us know! And as always, stay with AiryHair for more tips and genuine hair extensions.
If you want to keep your curly extensions in perfect shape, look at these simple tricks that you can make part of your hair routine:
- Don’t straighten the strands! When you use a flat iron on your curly extensions, you get rid of the curls altogether. If you want to maintain the curls, stay away from flat irons.
- Shampoo and condition your curly attachments to eliminate any dirt or product build-up. However, a leave-in conditioner is more suitable for curly hair extensions. Don’t wash your hair too often either; two to three times a week is enough. Unless you work out every day.
- What do you do after washing? Apply some products that are made to keep curls tight and give them shape. There are so many available, and you can choose your favorite one.
- Curls need a lot of moisture, especially if not natural. Make sure to replenish hair with natural oils and similar products. Your curls will be shinier and hold better.
- Avoid products that contain silicone since it weighs down the curls and might make them wavy instead of curly.
- If curls are losing shape, get your curling iron and restore it. Do this regularly, and your curly extensions will always be on point. It’s better not to let the extensions lose their shape completely before getting the curling iron.
If you have any other tips or techniques, let us know. In the meantime, check out our awesome curly and straight hair extensions!


